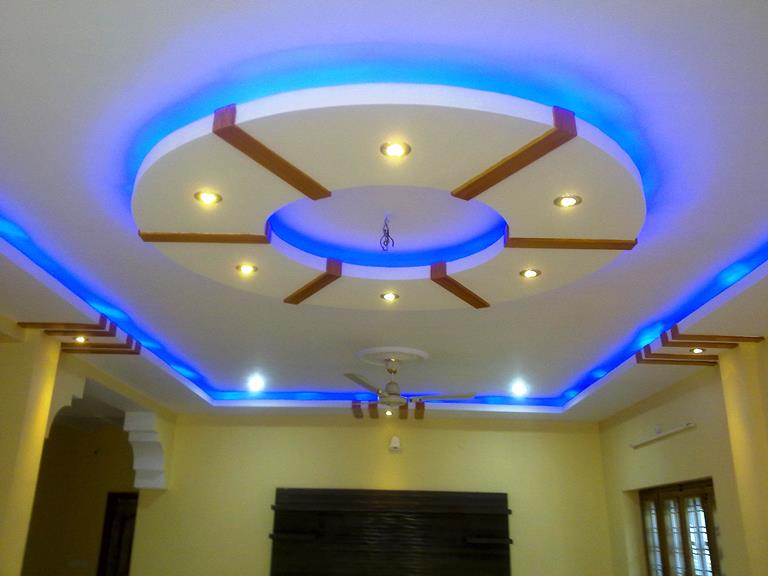
If you’re struggling to do up your home yourself, the temptation’s always there to call your dad and ask for a hand. But you don’t need to be a DIY expert to plaster a room. In fact it’s really quite simple, as the below five steps show you. In no time, your house will be redecorated and ready to go. Plus you’ll get the satisfaction of having done it yourself. Win win!
Prepare the Room
First of all, it’s important to make sure the room you want to plaster is ready. Start by getting plenty of air to the room, keep it well ventilated and allow dust to escape. Put on a mask, and wet down the plastering table surface and the tools you’re going to use (here’s a guide to some of the tools you might need).
Now you need to prepare the walls. Make sure you cover cracks and joints on the walls you’re plastering with tape. Then, dilute your PVA glue to one part PVA, four parts water, and cover your walls with this using a roller. This will help the plaster stick. Allow it to dry.
Prepare the mix
Your second step will be to prepare the mix itself. The plaster should be mixed with water at a 50:50 ratio. It should reach a thick, custard-like consistency. And when that’s done, tip the plaster onto a board and knead the mixture with a trowel. If it’s too thin, sprinkle more plaster into the mixture.

Applying the First Coat
Now you’re ready to apply your first coat. Put plaster into the hawk board, and, with your plaster trowel in your other hand, lean your hawk into the trawl and scoop off the plaster. Now you can begin to smooth this onto the wall. Apply with long, smooth strokes which will help keen the plaster even, and don’t worry about air bubbles as these will be fixed by the second coat. Make sure the whole wall is covered, and then leave for around twenty-five minutes to dry.
Applying the Second Coat
Before your second coat, skim over the plaster to get rid of any lumps in the first coat. Then, mix a slightly thinner plaster for the second, and final, skim. The wall should still be slightly damp. This is fine. However, try not to layer the plaster as thickly as before. It should be around 1 to 2 millimetres in thickness. Trowel away any excess plaster, and then leave the walls to dry again.
Finishing Touches
Run a trowel over the walls to smooth them and make sure there are no gaps left on the wall. After this, you’re ready to leave the wall to dry. Allow it to dry naturally. This should take around a couple of days in the Summer, or four or five days in the Winter.
And that’s it! Those are the basic steps to plastering your room in a professional and complete manner. More in-depth guides to each step can be found elsewhere should you struggle. And then, once it’s been finished off and dried out, you’re free to do whatever you like with your newly plastered room.
Jon Riley is the Co-Director of the artisans in fibrous plaster – Locker & Riley. Jon and his team have an impressive portfolio that includes the London Palladium and St Pancras Renaissance Hotel.
