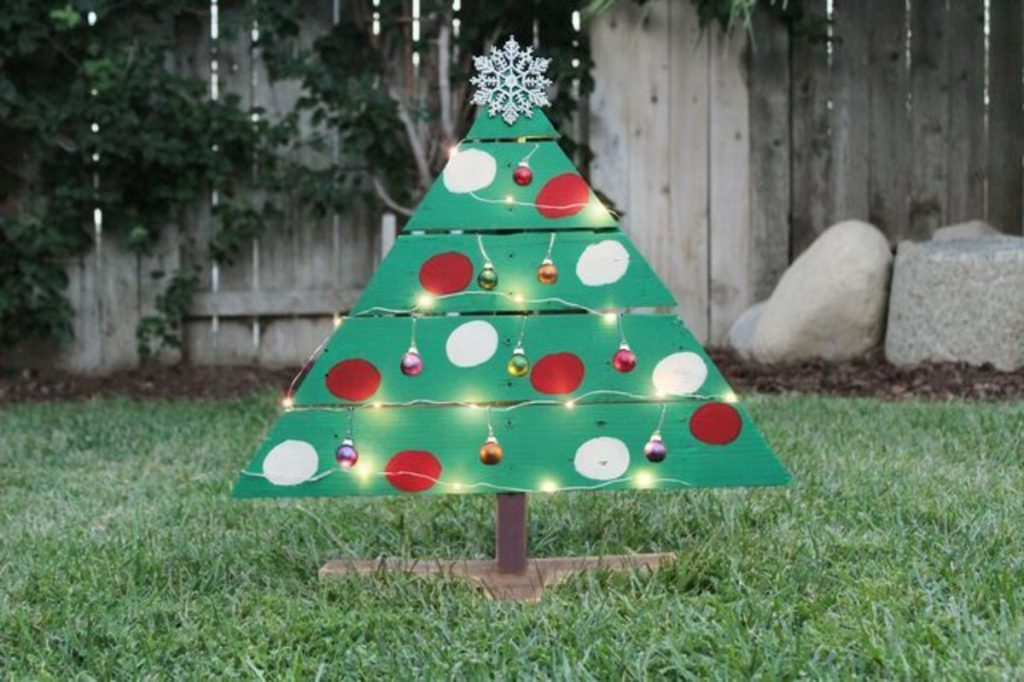
One of the most wonderful things about Christmas time is the magical decorations and festive spirit. There’s something comforting about putting the Christmas decorations up and getting the home ready for the festive period. With so many exciting ways to decorate the house there are now so many unique ways to put a personal stamp on your décor. One very popular DIY project is the wooden palette Christmas tree! Here’s a how to guide on how you can make your very own palette tree!
Find your Palettes
It’s important to find the right palettes for your Christmas tree. Dependant on the size of the area you want to place your palette tree, you need to decide what size palette you need first. Once you know the size you need, head down to your local timber merchants or even a local farm or warehouse and see if they have any spare wooden palettes’, take a look at the selection and find the one that’s right for you.
Dissemble and Plan
When you have your chosen palette, you need to decide which side will work best for your tree. Remove the side that you don’t need by taking off the wooden beams. Once you’ve removed the necessary parts, it’s important to check the boards for any loose nails or sharp wooden areas, as you don’t want any accidents with your tree.
Start Cutting
Mark out your Christmas tree shape onto the chosen palette side with a white chalk or pencil (as you can wipe this away once finished). Next, you need to cut the palette to create your Christmas tree shape. A saw is the best tool to use for this step, as the wood can often be difficult to cut with other items. Remember to be cautious of any wooden areas that could cause splinters as you can remove these with the saw if necessary.
Attaching the Parts
Place one strong piece of wood down the back of your Christmas tree, as this can be used for the stand. If you want this to be an outdoor tree, you can create a sharper arrow at the bottom of the wooden beam to position into the ground. If this tree is going inside, then you can create a nice stand for the tree with the left-over pieces of palette.
Sand and Treat
Next you need to give your Christmas tree a good sanding down to create a smooth, soft surface. This will help with making the tree look better, as well as making it easier when it comes to the decorating process. If you want to add a little extra durability and protection to your palette tree, add some varnish to treat the material and protect it from everyday wear and tear.
Finishing Touches
A Christmas tree isn’t a Christmas tree without decorations. If you want to go all out, you could look at spray painting your palette tree in a green colour to emphasise the tree look. You then need to focus on decorating the palette tree and giving it a magical Christmas touch. Start by adding some glittery, fairy lights to the tree to give it the ultimate Christmas feel. You then need to add some tinsel or ribbon, followed by some delicate baubles that will give even more Christmas character to the palette tree and create a really magical look.
